Here are 4 questions you need to answer before you buy a T-shirt quilt:
1. What style of T-shirt quilt do you want made?
2. Do you have to few, too many or just enough T-shirts?
3. How much are you willing to pay for your quilt?
4. How soon do you need your quilt?
1. What style of T-shirt quilt do you want made?
There are 6 basic types of T-shirt quilts. Know which style you want before you find your quilter.
Traditional Block Style With Sashing
 The T-shirts are cut into uniform size blocks. Interfacing, which is a fabric stabilizer, is applied to the back of the T-shirts so they are easy to work with. All the blocks are set into columns and rows separated by fabric. This style does not reflect that T-shirt logos differ in size.
Traditional Block Style Without Sashing
 This style is similar to the traditional block style, but it skips the fabric in-between the rows and columns. This style also fails to consider that T-shirt graphics come in many different sizes.
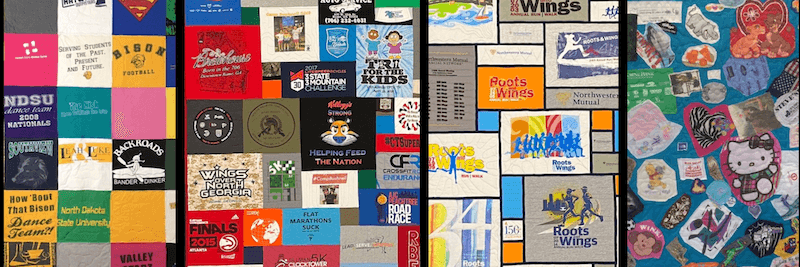
Unequal Rows or Columns
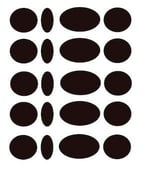 This style compensates for different size logos by using two or three standard block widths. The designs are cut to fit one of the widths and the length is cut based on the logo. The blocks are sewn in columns of matching widths. So you would have a wide column, then a narrow column and then a wide column and so on. This style also could be made with same height rows.
Crazy Quilt
 The graphics on the T-shirts are cut out willy-nilly. The blocks are then glued to one piece of fabric or a sheet. The blocks are then zigzagged down. Some blocks may overlap other blocks.
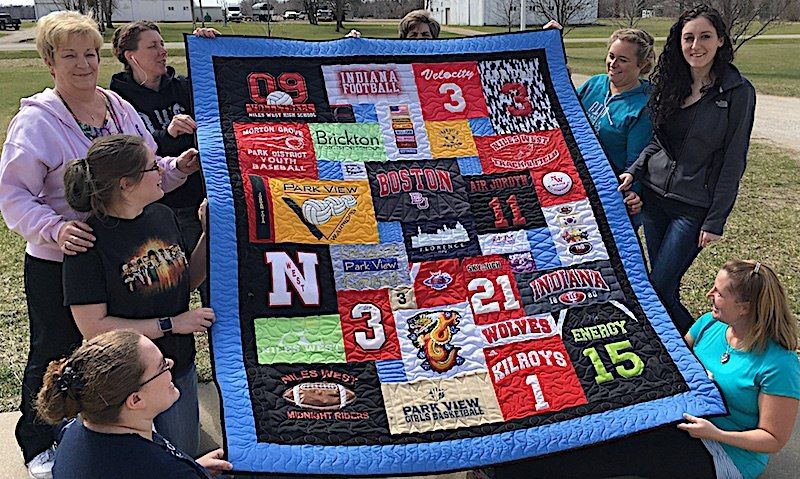
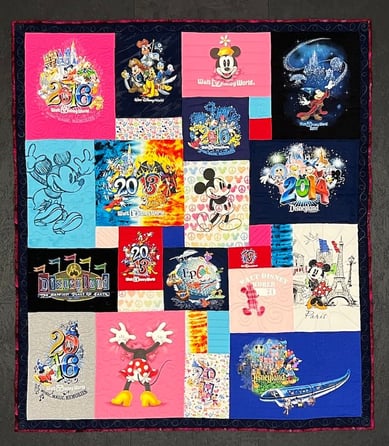
The Too Cool Style AKA: Variable or Puzzle Style
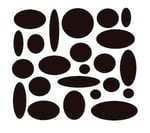 This style was created by Too Cool T-shirt Quilts in the early 1990’s. The blocks are all different sizes and are puzzled together. There are neither columns nor rows. Since Too Cool T-shirt Quilts is trademarked, other companies making this style of quilt must call them something else. The most common term is “variable” or "puzzle".
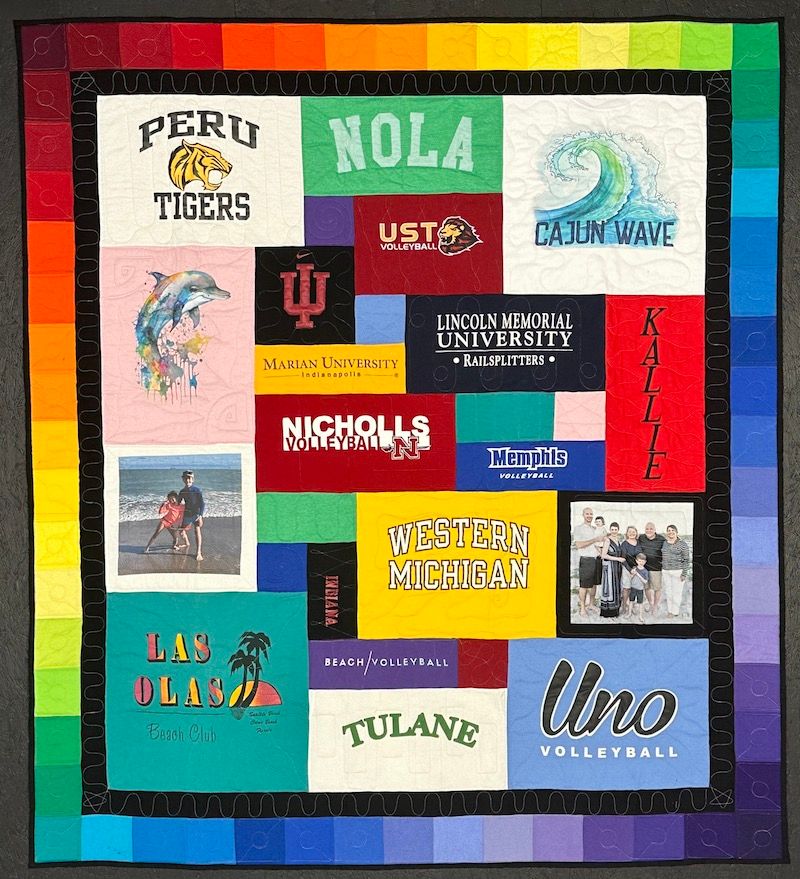
The Stained Glass Too Cool or Puzzle Style
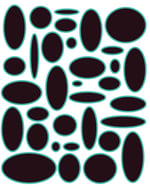 This style of T-shirt quilt was created by Too Cool T-shirt Quilts in 2019. It is very similar to our Too Cool style - but with an added kick that is the leading. All the blocks are different sizes and the blocks are puzzled together so that there are neither columns nor rows.
The unique feature of this quilt is the "leading" that surrounds the blocks. This is used to mimic the look of "Lead Came" from the world of stained glass. The result is a quilt with the feel of a stained glass window.
Planning a T-shirt quilt?
Here are step-by-step directions for ordering your Too Cool T-shirt quilt.

2. Do you have enough or too many T-shirts?
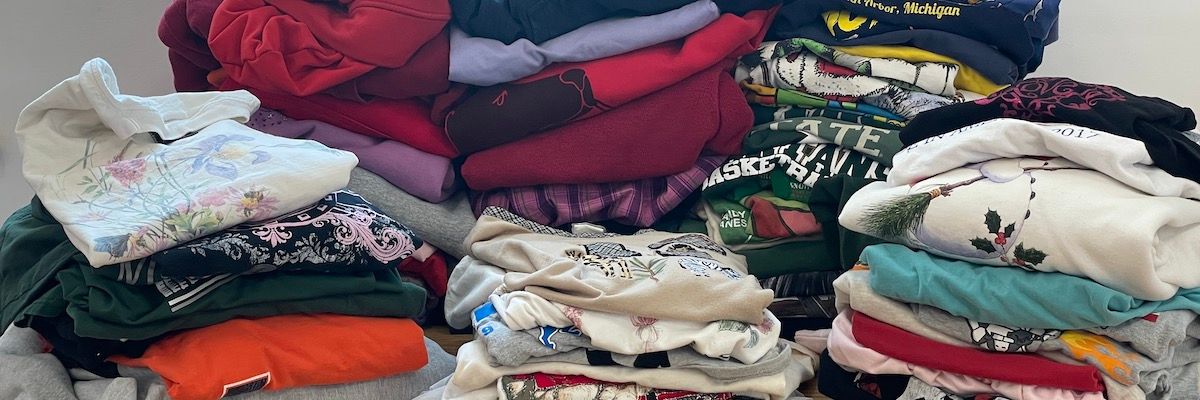 The quilt style you want will dictate how many T-shirts you can use. For example, if you want a quilt that is traditional block style, you simply need to count the number of blocks in a quilt of a particular size. For example, if a quilt is 3 blocks wide by 4 blocks tall, you will need just 12 logos. If your T-shirts have a design on the front and the back, you will only need 6 T-shirts.
Whereas a method such as the Too Cool T-shirt Quilt method, the number of T-shirts needed will depend on how large of a quilt you would like and size and the quantity of designs on your T-shirts. Read more about how many T-shirts are needed for one of our quilts.
3. How much are you willing to pay for your quilt?
 Unless someone who loves you, say like your grandmother, makes you a quilt, it will not and should not be free. There is a lot that goes into a quilt. Here are some of the basics cost:
- Time/labor
- Backing & Binding Fabric
- Batting
- Thread
- Long Arm quilting ownership or rental if the quilt is quilted
- A new rotary cutting blade (and perhaps a Band-Aid or two)
Read here about why very inexpensive T-shirt quilt you scare you.
4. How soon do you need your quilt?
 The sooner you need your quilt, the more experienced quilter you need to employ because it takes time to make a quilt. If you or someone who has volunteered to make your quilt has to learn the entire process, it will take time. There is a learning curve.
A company that has been making T-shirt quilts for over 30 years is past that initial learning curve and can work directly towards completing your quilt.
Note: during graduation season and right before Christmas, the best T-shirt quilt makers will be very busy. So be sure to plan ahead!
Depending on the time of year, the industry average turn around time on a T-shirt quilt is about 4 to 6 weeks. Some companies, like Too Cool T-shirt Quilts, has the staff and flexibility to handle “quilt emergencies” and are able to complete a quilt in a day or two. Some will charge a surcharge while others will just work you in.
To learn more about having a T-shirt quilt made from your T-shirts, consider downloading our T-shirt Quilt Buyers's Guide. It's a great place to begin your T-shirt quilt journey.