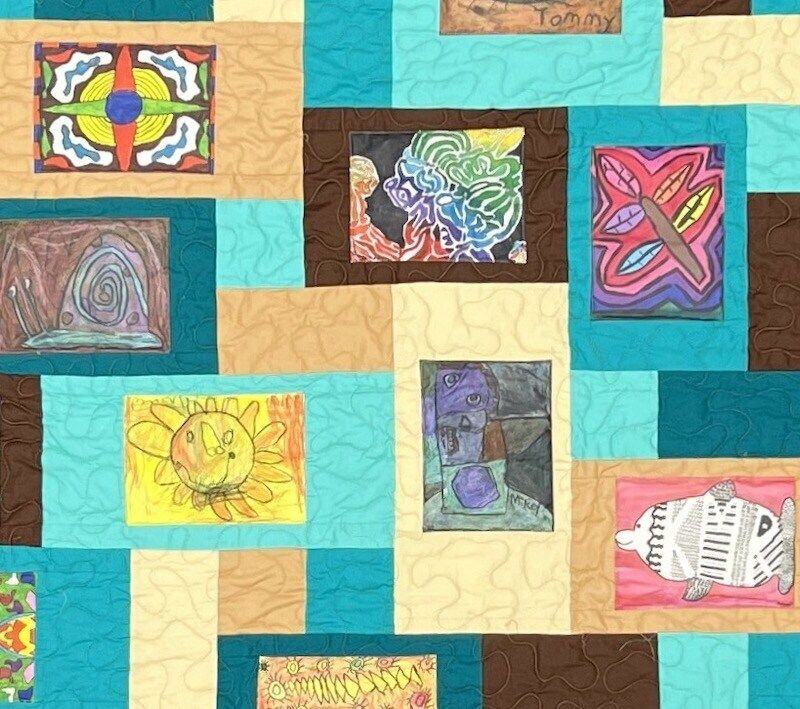
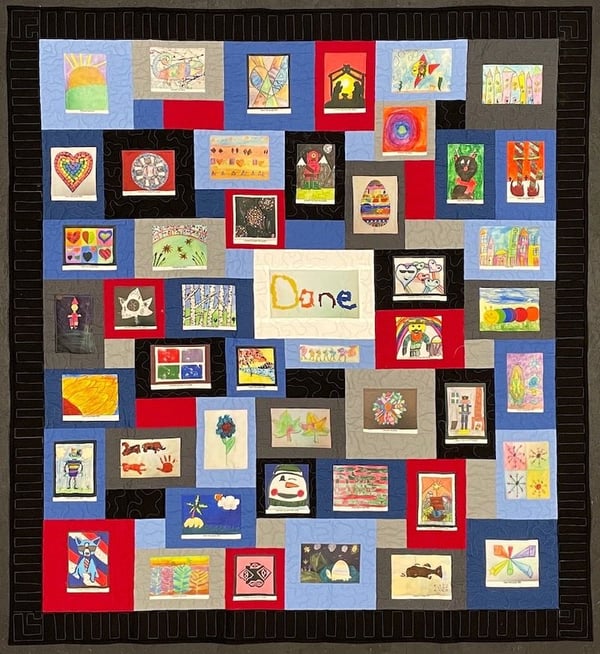
You can preserve your child’s artwork by turning it into a quilt. By using drawings, paintings, and school projects as quilt blocks, you can create a lasting, usable piece that captures your child’s creativity and growth over time.
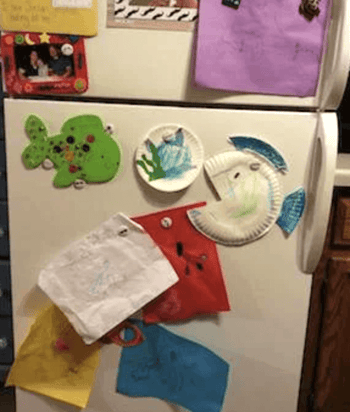 If you are a parent, you probably have or have had a refrigerator door decorated with your child’s artwork. It begins with scribbles, then advances to stick figures and finally ends when your child decides enough is enough and stops bringing the drawings home from school.
My adult daughter still draws, but I generally don’t get to see them until she has an art show. I am one of those parents whose child did grow up to be an artist.
Whether your child is the next Picasso or the next accountant, to you, their drawings are important. As your child grows, these drawings can be an insight into how their brain works, what they are feeling, and how they see the world.
 Milie at one of her art shows. @thekla.quilts
And they are important to you. It’s difficult to throw them away, yet what do you do with them?
Consider having a quilt or a pillow made with these drawings. It’s not going to be something that your child will take to college with them, but it will be something for you to hold onto and treasure as your child heads out into the real world without you.
Save and Photograph the Artwork
 If your child is just beginning their artistic career, start saving those drawings. Here are two systems to consider using to save those drawings as your child grows up.
- What I did was set up a banker’s type cardboard box. Each artwork that came home would either go on the refrigerator or to my office for a period of time. When the next one came home, I would swap it out with the previous endeavors. Then I would take that drawing and put it in the banker’s box.
At the end of the year I would sit down with my daughter and save the top 5 or so drawings. Then a spacer piece of paper would go down and we would then continue the same way each year. - With digital technology, you don’t have to keep any of the actual artwork. You can just scan or photograph the artwork. To keep the chronology of the work, just set up an artwork folder with subfolders by year. Remember to back up this file and move it to new computers as you upgrade.
If your child has already finished his or her childhood art career and you still have some of that artwork, go through it and choose your favorite items. Try to get at least one item from each stage (year) of that career. After you have your selection, either scan or photograph each item.
Transfer Onto Fabric
 Next, you will need to transfer the artwork onto fabric. This is something that you would need to do or find someone to do it for you. To find a company that will do the transfers for you, search “digital photo transfers to fabric.”
We suggest you have your images professionally transferred. They will look better and last longer.
If you are planning on doing this yourself, here are the steps…
- Purchase white fabric from your local fabric store. It should be a high quality fabric if you are planning on a quality quilt. (GIGO). The fabric should be white because most transfers show the background color through the transfer.
If you use a plastic type transfer, the color you iron the drawing onto might not matter because the transfer is not translucent. But this type of transfer may not have a long-term life. - Scan or download the drawings. Clean them up and save them in a format from which you can print.
 Purchase photo to fabric transfer paper. Research your options and ask around to find out which one is the best for what you are doing. I am not an expert at this, so I can’t direct you on this.
- Print the images onto this paper. Print the images in various sizes. Print some large and smaller ones. The more size variation, the more interesting the quilt. You are welcome to call us for more specifics about sizes to use.
- Iron them onto the white fabric. Leave plenty of room around each photo image so we have room to cut it into a block.
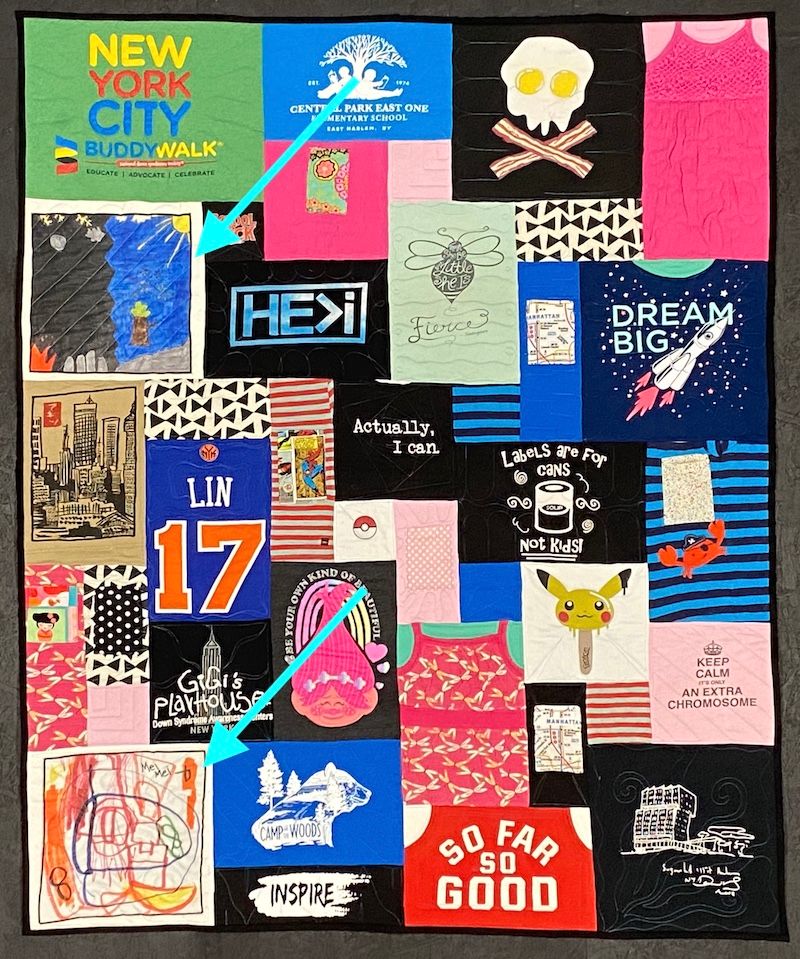
Planning a T-shirt quilt?
Here are step-by-step directions for ordering your Too Cool T-shirt quilt.

What Else Can Be Used?
Other items to consider using in this or other quilts…
 Photographs of your child at various ages. They can help tell the story of your child’s life better.
- Newspaper clippings of your child
- Essays and poems that your child wrote
- Award certificates
- Report cards
- Photographs of ribbons and medals
- Scans of their childhood hand or footprints
This quilt should be made for you, the parent of the child. Choose to put items in this quilt that will remind you of your child as she or he grew up. Feel free to include items that will embarrass the heck out of your child!
How to Have a Quilt Made by Too Cool T-shirt Quilts
1. Mark Your T-shirts with Any Special Instructions
Please read our instructions on how to mark what part(s) of your T-shirts you would not like used. This is important. If you are not including T-shirts - just using the printed artwork, let know how you would like us to use them.
2. Print Out Your Order Form
 When you get to the order form page, you will enter your name, email address, state and that you want a a standard quilt. We will then email you the correct order form.
Then print out and fill in the order form. If you have special instructions please write them on the order form or include them with the order form on a separate sheet of paper.
3. Box Up Your Items
In your box include your clothes and completed order form. Here is a fun article about packing T-shirts and clothing.
4. Ship Out Your Box to Too Cool T-shirt Quilts
You can ship your box via UPS, US Mail, FedEx or any other carrier you like to work with.
5. Your items Arrive At Too Cool T-shirt Quilts
 We will e-mail you within 48 hours of receiving your items.
- We will cut your items according to your instructions.
- Next, we calculate the size of your quilt.
- Then we send you an e-mail with size and cost information.
- If we need to change the size of your quilt, we will work on that with you.
- Once you give us the OK, we will make your quilt.
6. Your Quilt is Finished
Conclusion
Whether you choose to incorporate your child's artwork into a quilt alongside T-shirts or showcase them on their own, the sentimental value and memories preserved will be equally heartwarming. Each drawing, painting, or sketch tells a story of your child's creativity and growth, capturing moments in time that you can cherish for years to come.
Want to learn more about T-shirt quilts? Visit our Learning Center.
We have over 200 articles about all aspects of T-shirt quilts.